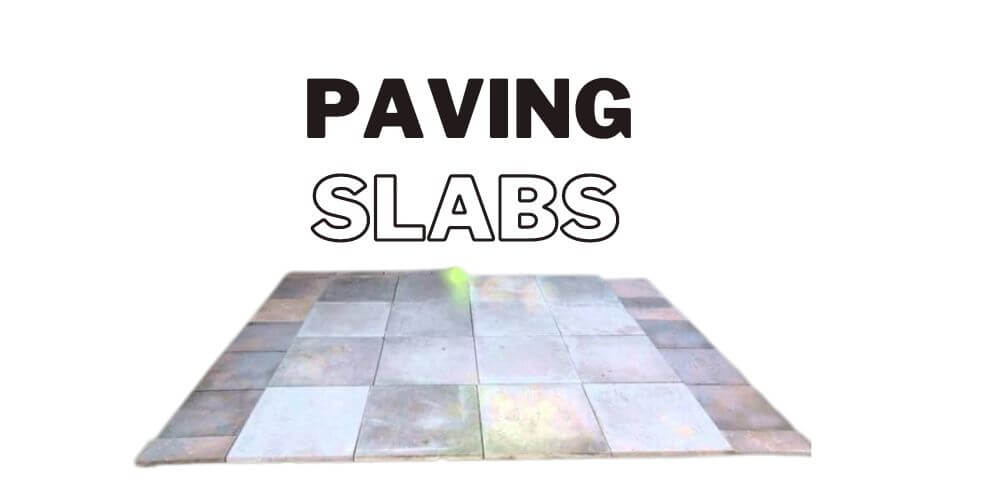
Paving slabs for a shed base is one of the most popular options. A well-built base will provide a stable and level foundation for your shed, helping to prevent damage and extend the life of your shed. In this post, we’ll take a closer look at paving slabs for a shed and explore their benefits, drawbacks, and best practices for installation.
Paving Slabs for a Shed – Benefits
Paving slabs offer several benefits for shed bases. They are durable and long-lasting, with the ability to withstand heavy weight and frequent foot traffic. They are also resistant to weather damage, which is important for outdoor structures like sheds. Additionally, paving slabs are relatively easy to install and require minimal maintenance.
Another benefit of using paving slabs for your shed base is that they can be customized to fit your specific needs. You can choose from a variety of sizes, shapes, and colors to create a base that complements the style of your shed and fits the dimensions of your yard. Additionally, you can easily add or remove paving slabs if you need to adjust the size or layout of your shed in the future.
Paving Slabs for a Shed – Drawbacks
While paving slabs have many benefits, there are also some potential drawbacks to consider. One of the main drawbacks is cost. Paving slabs can be more expensive than other types of shed bases, such as gravel or crushed stone. Additionally, if you are not experienced with installing paving slabs, you may need to hire a professional to ensure that the base is properly constructed.
Another potential drawback of using paving slabs for your shed base is that they can be more difficult to level than other types of bases. If the ground beneath the paving slabs is not level, it can lead to an uneven base and ultimately affect the stability of your shed.
Unsure about paving slabs? click here to explore different options.
Paving Slabs for a Shed – Best Practices
If you decide to use paving slabs for your shed base, there are several best practices to follow to ensure that the base is properly constructed. First, it is important to prepare the ground beneath the paving slabs. This involves removing any grass, weeds, or other debris from the area and ensuring that the ground is level.
Next, you will need to lay a layer of hardcore or crushed stone on top of the ground. This will provide a stable and level base for the saving slabs for a shed to rest on. Once the hardcore is in place, you can begin laying the paving slabs, starting at one corner and working your way across the base. Be sure to use a spirit level to ensure that each slab is level and flush with the surrounding slabs.
After the paving slabs are in place, it is a good idea to seal the gaps between the slabs with a flexible jointing compound. This will help to prevent weeds and other debris from growing between the slabs and provide a more stable surface for your shed.
Final Thoughts
Paving slabs for a shed can be an excellent choice for shed bases, providing a durable and customizable foundation for your shed. However, they do come with some potential drawbacks, including cost and difficulty of leveling. By following best practices for installation and maintenance, you can ensure that your paving slab shed base is properly constructed and provides a stable foundation for your shed.


